✨ New Arrivals Just Dropped!Explore
HomeStore
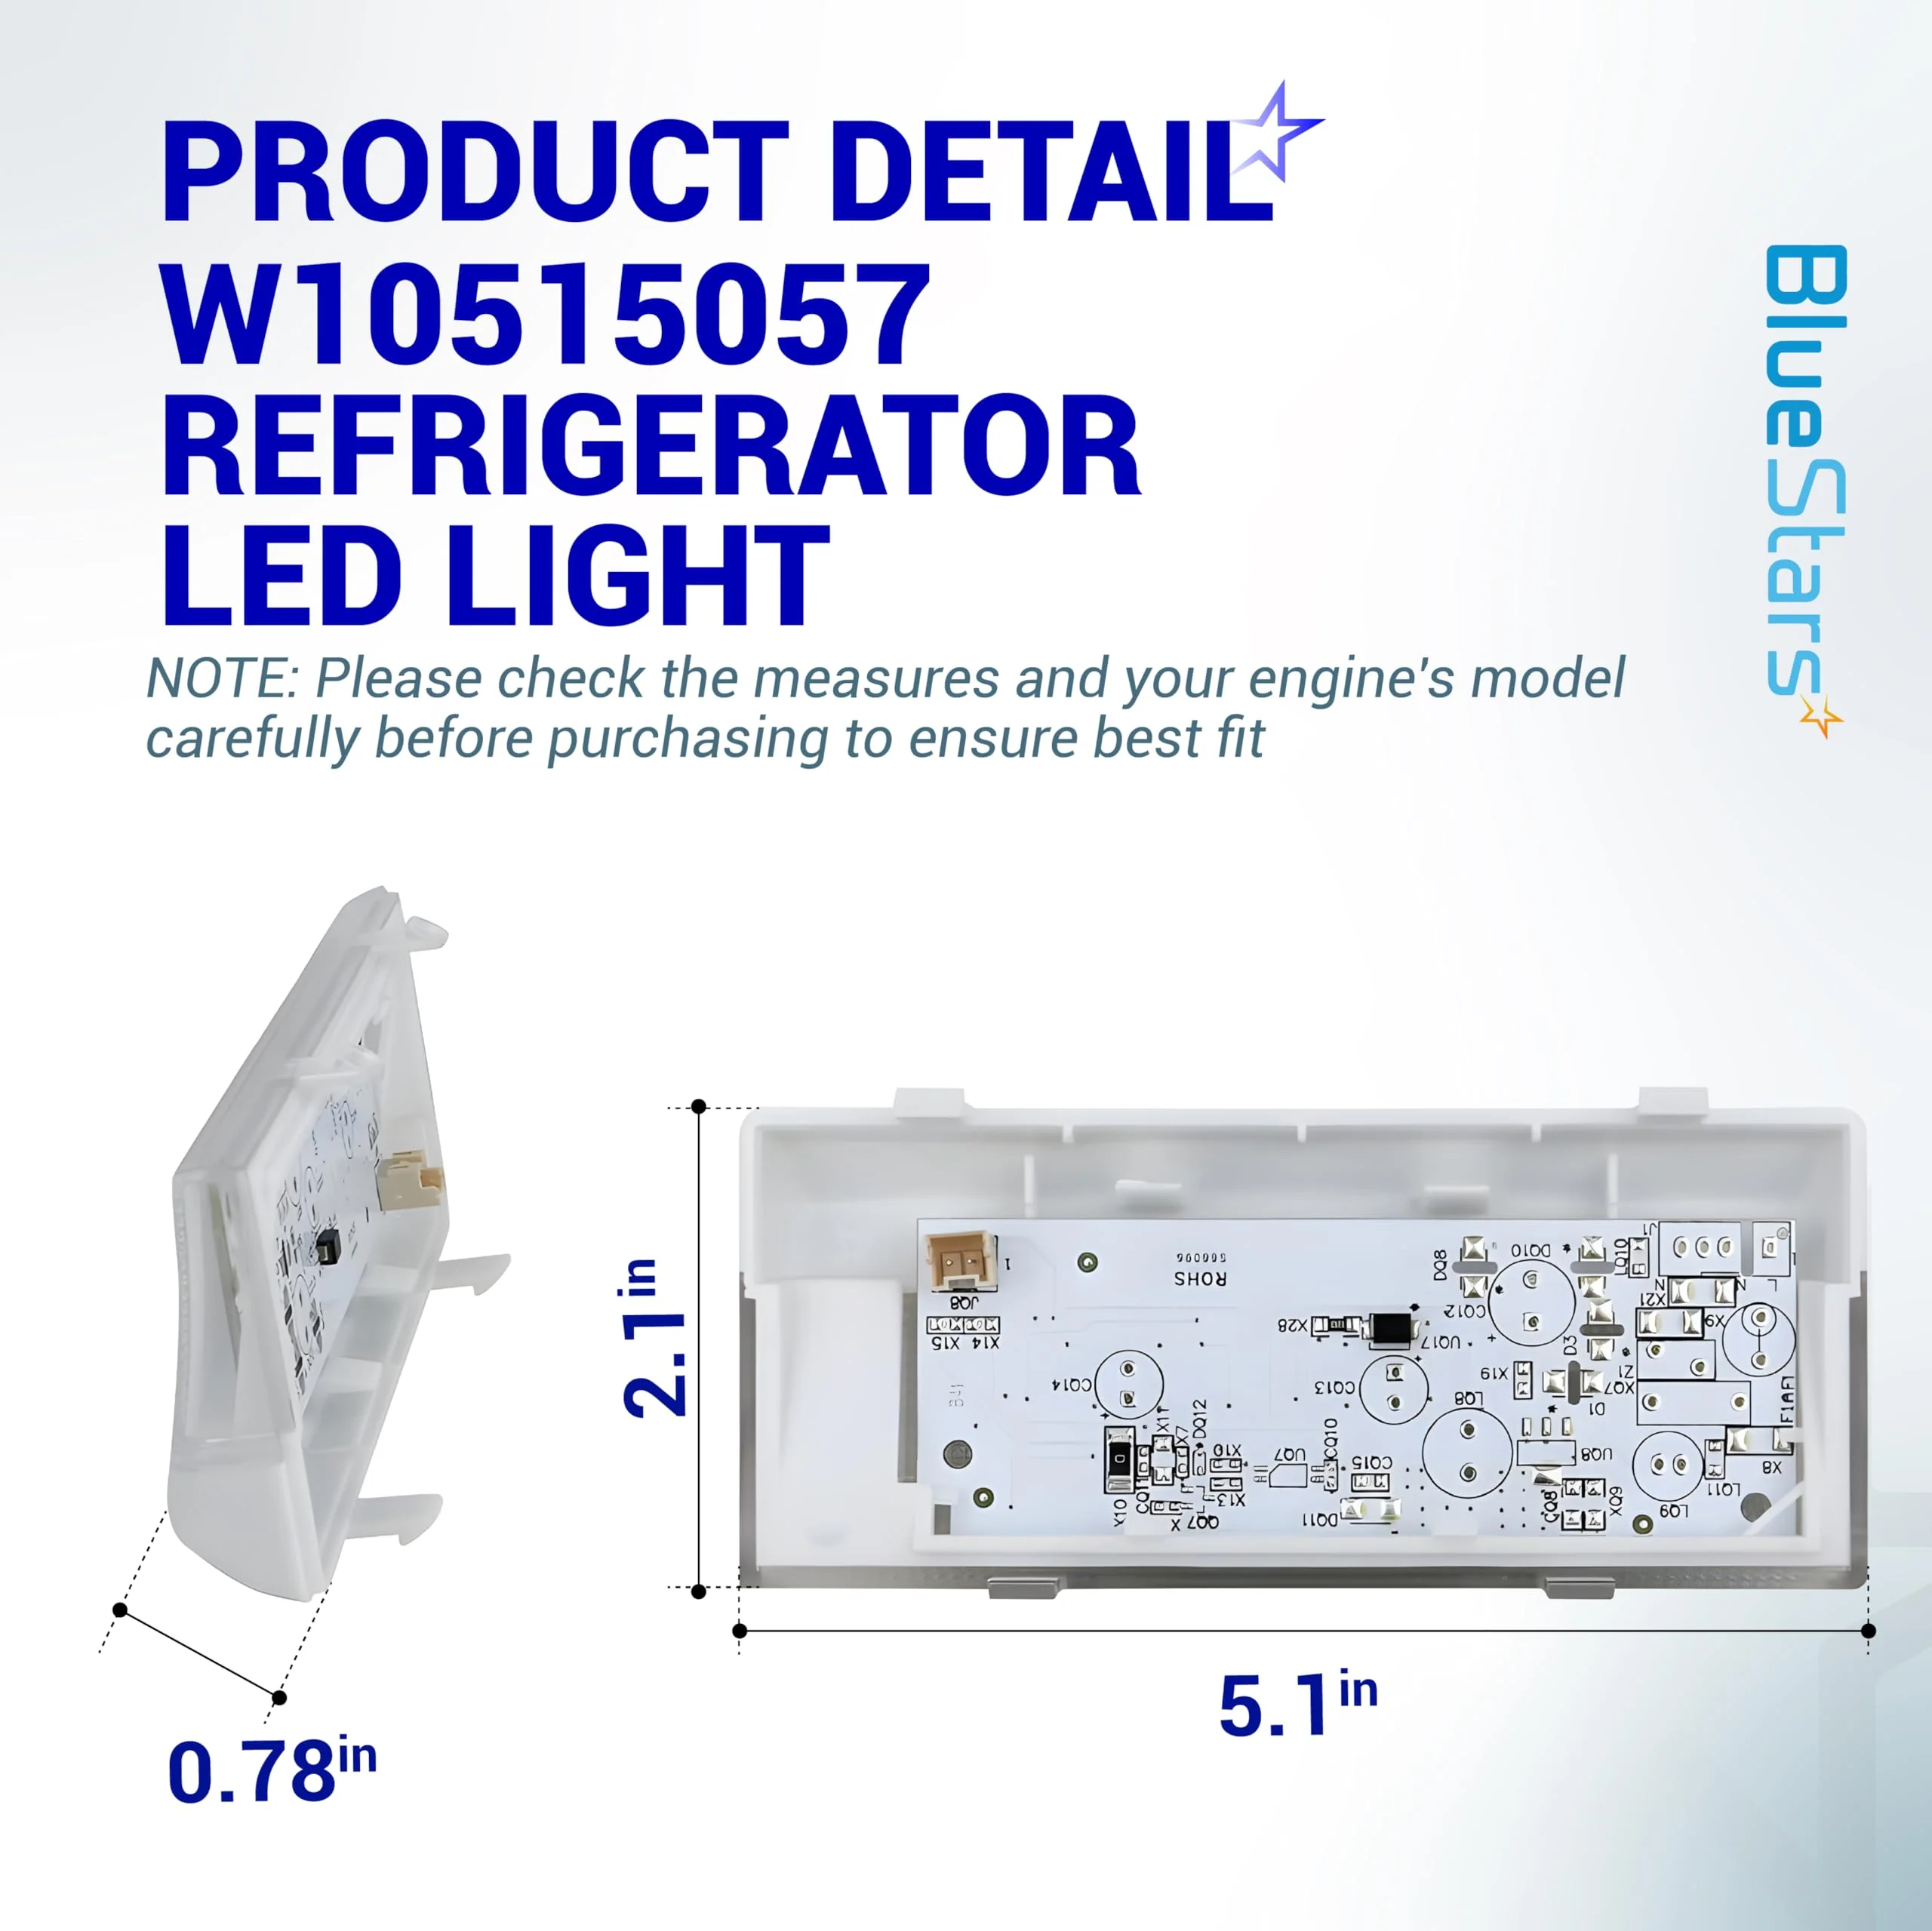
[Lifetime Warranty] W10515057 WPW10515057 Refrigerator LED Light - Compatible with Whirlpool Kenmore Maytag KitchenAid Freezer - Replaces W10398007 3021141 AP6022533 PS11755866 EAP11755866 W10515057
[Lifetime Warranty] W10515057 WPW10515057 Refrigerator LED Light - Compatible with Whirlpool Kenmore Maytag KitchenAid Freezer - Replaces W10398007 3021141 AP6022533 PS11755866 EAP11755866 W10515057
W10515057 WPW10515057 Refrigerator LED Light Board
Key Features
- Enhanced Illumination: Features high-efficiency LED diodes that provide bright, crisp white light, significantly improving visibility inside the refrigerator or freezer compartments.
- Energy-Efficient Design: Consumes far less power than traditional incandescent bulbs while producing minimal heat, helping to maintain stable internal temperatures.
- Long-Life Solid State Technology: Engineered to withstand the frequent on/off cycles and the cold, humid environment of a refrigerator without the flickering common in older lighting systems.
- Direct Plug-and-Play: Equipped with a precision-molded 2-pin wiring connector for a secure, tool-free connection to the refrigerator’s internal wiring harness.
Replaces / Cross-Reference Part Numbers
- W10515057
- WPW10515057
- W10398007
- 3021141
- AP6022533
- PS11755866
- EAP11755866
- PD00032230
Compatibility & Fitment
This LED light board is a standard replacement for many Whirlpool-manufactured refrigerators (French door, side-by-side, and bottom-freezer). Key compatible brands include:
- Whirlpool: Fits various WRF, WRS, and WRX models (e.g., WRF736SDAM, WRS325FDAM, WRX735SDBM).
- Kenmore / Sears: Compatible with many 106-series and 596-series models (e.g., 106.51133210, 596.72382).
- Maytag: Fits various MFI and MFF series refrigerators (e.g., MFI2570WEM, MFX2570AEM).
- KitchenAid & Amana: Compatible with select units utilizing the W10515057 LED configuration in either the ceiling or side-wall positions.
When to Replace
- Flashing or Flickering: The LEDs strobing or flickering indicates a failing capacitor or diode on the light board.
- Dim Lighting: One or more LEDs on the board have burnt out, or the light is significantly dimmer than when new.
- Total Darkness: The light fails to turn on entirely despite the door switch functioning (test by checking if other lights or the dispenser display still work).
- Visible Burn Marks: Small brown or black scorch marks are visible on the green circuit board or around the individual LED diodes.
- "Series Failure": In many Whirlpool models, if one LED board in the circuit fails, it may cause other lights in the refrigerator to remain dark or dim.
Installation Tips
- Safety First: Unplug the refrigerator or turn off the circuit breaker before starting to avoid electrical shock or shorting the control board.
- Accessing the Board: Most boards are behind a clear or frosted plastic lens. Use a small flat-head screwdriver or putty knife to gently pry the lens clips; be careful as the plastic can be brittle when cold.
- The "Secret" Tab: The LED board itself is often held in place by a single small plastic locking tab. Press the tab to release the board from its housing.
- Connector Care: Gently squeeze the sides of the wiring harness connector to release it. Do not pull on the wires themselves, as they can pull out of the plug.
- Testing: Once the new board is plugged in, briefly restore power and trigger the door switch to verify the light works before snapping the plastic lens back into place.
$8.05
Original: $22.99
-65%[Lifetime Warranty] W10515057 WPW10515057 Refrigerator LED Light - Compatible with Whirlpool Kenmore Maytag KitchenAid Freezer - Replaces W10398007 3021141 AP6022533 PS11755866 EAP11755866 W10515057—
$22.99
$8.05


Description
W10515057 WPW10515057 Refrigerator LED Light Board
Key Features
- Enhanced Illumination: Features high-efficiency LED diodes that provide bright, crisp white light, significantly improving visibility inside the refrigerator or freezer compartments.
- Energy-Efficient Design: Consumes far less power than traditional incandescent bulbs while producing minimal heat, helping to maintain stable internal temperatures.
- Long-Life Solid State Technology: Engineered to withstand the frequent on/off cycles and the cold, humid environment of a refrigerator without the flickering common in older lighting systems.
- Direct Plug-and-Play: Equipped with a precision-molded 2-pin wiring connector for a secure, tool-free connection to the refrigerator’s internal wiring harness.
Replaces / Cross-Reference Part Numbers
- W10515057
- WPW10515057
- W10398007
- 3021141
- AP6022533
- PS11755866
- EAP11755866
- PD00032230
Compatibility & Fitment
This LED light board is a standard replacement for many Whirlpool-manufactured refrigerators (French door, side-by-side, and bottom-freezer). Key compatible brands include:
- Whirlpool: Fits various WRF, WRS, and WRX models (e.g., WRF736SDAM, WRS325FDAM, WRX735SDBM).
- Kenmore / Sears: Compatible with many 106-series and 596-series models (e.g., 106.51133210, 596.72382).
- Maytag: Fits various MFI and MFF series refrigerators (e.g., MFI2570WEM, MFX2570AEM).
- KitchenAid & Amana: Compatible with select units utilizing the W10515057 LED configuration in either the ceiling or side-wall positions.
When to Replace
- Flashing or Flickering: The LEDs strobing or flickering indicates a failing capacitor or diode on the light board.
- Dim Lighting: One or more LEDs on the board have burnt out, or the light is significantly dimmer than when new.
- Total Darkness: The light fails to turn on entirely despite the door switch functioning (test by checking if other lights or the dispenser display still work).
- Visible Burn Marks: Small brown or black scorch marks are visible on the green circuit board or around the individual LED diodes.
- "Series Failure": In many Whirlpool models, if one LED board in the circuit fails, it may cause other lights in the refrigerator to remain dark or dim.
Installation Tips
- Safety First: Unplug the refrigerator or turn off the circuit breaker before starting to avoid electrical shock or shorting the control board.
- Accessing the Board: Most boards are behind a clear or frosted plastic lens. Use a small flat-head screwdriver or putty knife to gently pry the lens clips; be careful as the plastic can be brittle when cold.
- The "Secret" Tab: The LED board itself is often held in place by a single small plastic locking tab. Press the tab to release the board from its housing.
- Connector Care: Gently squeeze the sides of the wiring harness connector to release it. Do not pull on the wires themselves, as they can pull out of the plug.
- Testing: Once the new board is plugged in, briefly restore power and trigger the door switch to verify the light works before snapping the plastic lens back into place.